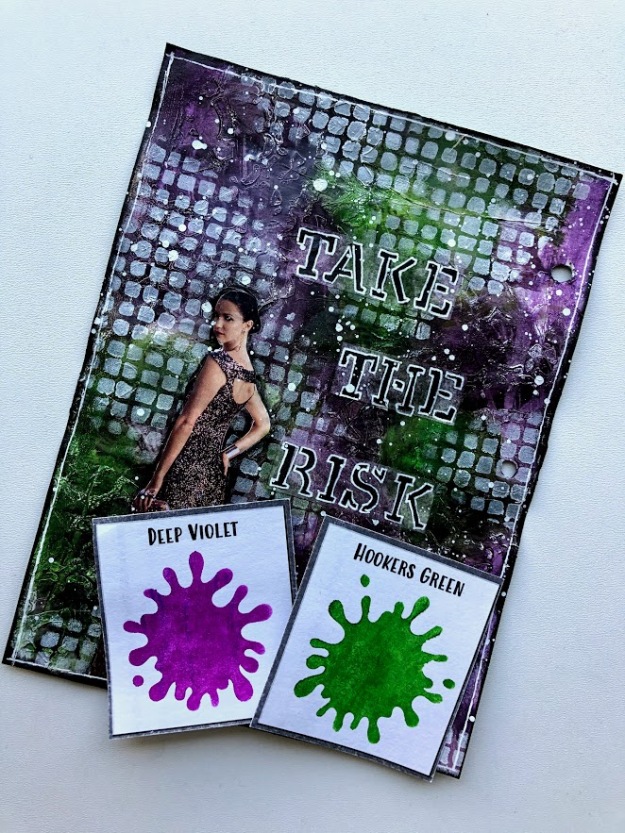
This month’s color scheme challenge is to use Hookers Green and Deep Violet. You can add white and black as needed.
I encourage you all to ” Take The Risk” . Try this new color combination and to start color blending. In the first video I show how with the addition of a little black you can “mute” the colors, but that’s just the tip of color blending….play with the colors…add black and white…what do you make…experiment and get to know your colors and as always have fun.
In this video I use the same colors but I create two different backgrounds. This is to show you some of the differences that you can achieve by changing up the steps and techniques you use while art journaling. My challenge to you is to do multiple pages and see this variety first hand. As always please join my facebook group All Things Mixed Media and share your creations and join the “creationships” .
Creating a Masterboard with #colorschemechallengeapril
Stencils are one of my most loved and used mixed media and art journal supply. This was true from the very beginning of my art journal journey and is truer now as I am a Brand Ambassador for The Crafters Workshop.
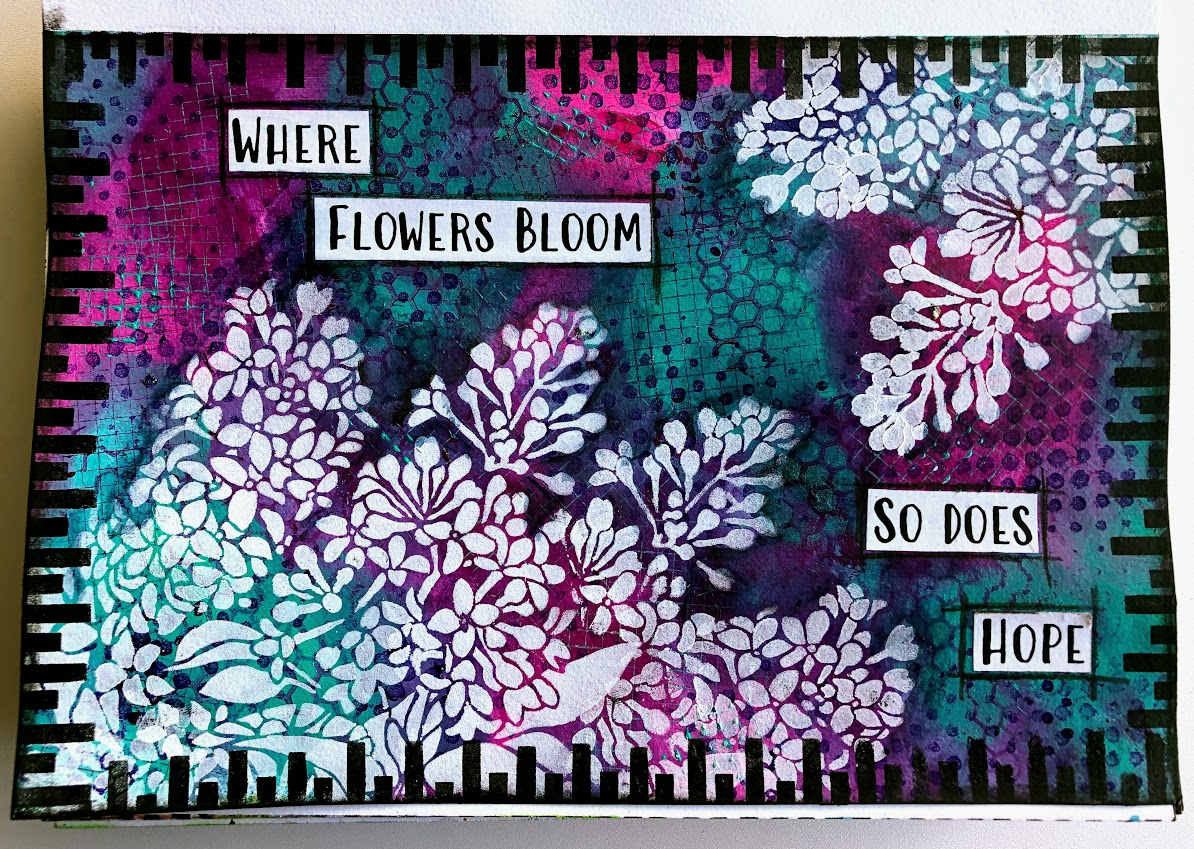
I use stencils in pretty much every project in some way. The top 2 ways I use stencils is to add layers of luscious pattern and interest to my backgrounds and as a focal image ( as you see if the pic above).
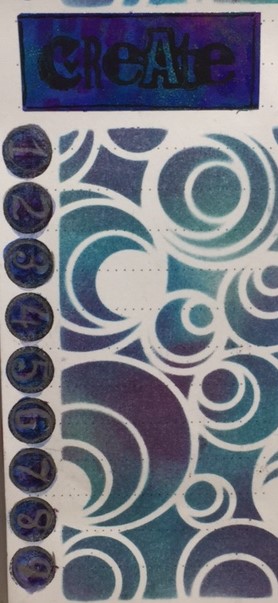
I was in the midst of creating the above page. I was about to edge my page with black when a thought occurred to me to make a more interested border…maybe doodle something? But as I am NOT a doodler I asked myself if there was a “shortcut” .
I pulled out my stencils and looked at them through different eyes…I was looking for patterns in them that I could use for borders and I was NOT disappointed.
Quickly I saw the possibilities that lay in my stencils. I grabbed one stencil and added the border to this page. You can see the video tutorial at this link
After doing this page I have done other pages using stencils to create interesting borders.
Here’s another tutorial where I do this
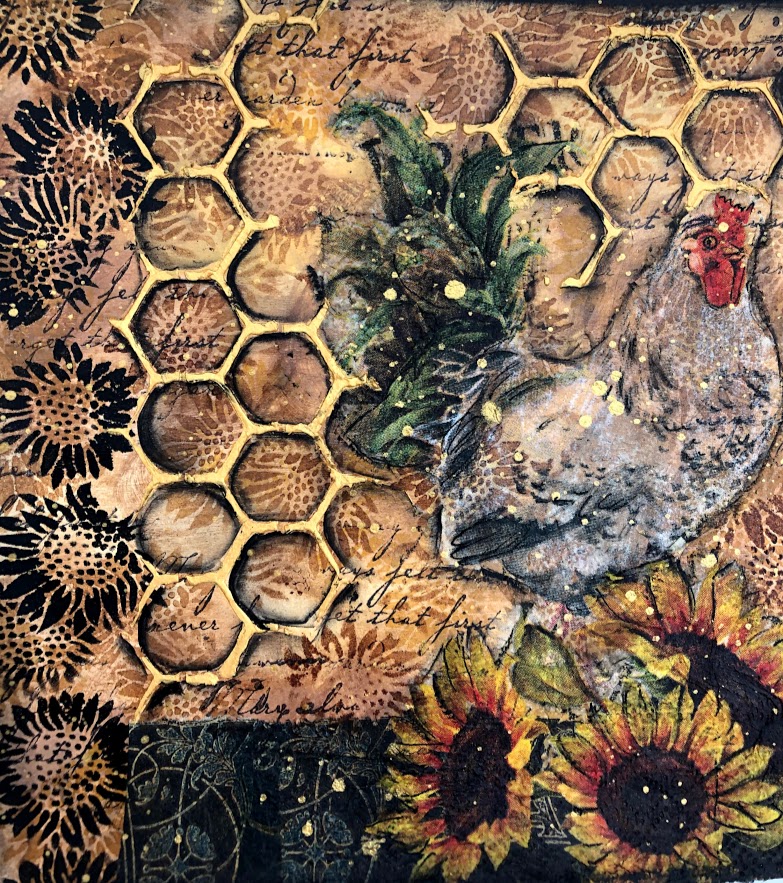
And here’s a recent page I did during an Instagram Live ( follow me on Instagram @creativekady) where I used the sunflower meadow stencil to add the black sunflower border.
So here’s your homework. Grab a cup of coffee, pull out your stencils and discover which ones can be used to add interesting borders to your page.
I have tons of gel prints and colored papers. One of my favorite things to do is to spend hours creating collage sheets, colored coffee filters and gel prints. I love love love playing with color and pattern.
See one of my “Build Your Stash” videos where I color coffee filters. I think coffee filters are my most loved colored papers…the way they take color….the way they collage is A—Mazing.
After spending my first couple years doing mixed media and not really understanding “collage” ( I mean, why would we glue papers down only to cover them all up ??????)
I have now embraced it. I absolutely love starting my projects by collaging colored papers with different patterns. Selecting gel prints/colored papers that have different weights adds even more interest. The layering of these papers adds great texture.
Starting with collage -the colors and patterns you already have in your papers gets the creative juices flowing. They are like little signposts pointing you in the direction to create. I highly recommend starting with collaged papers especially if you struggle with getting started and the dreaded ” fear of the blank page”.
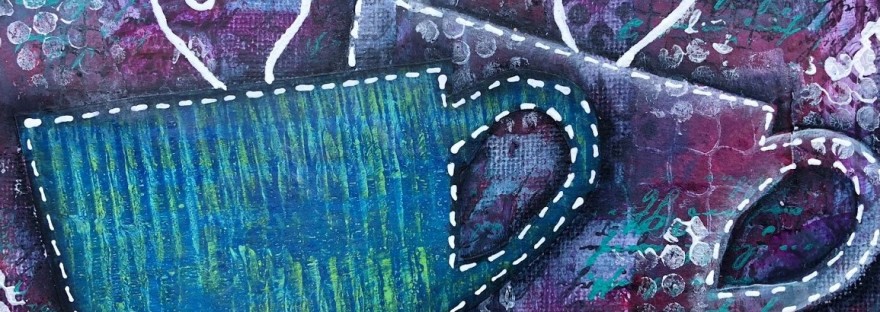
So go now, get out your gel prints or colored papers and follow my tutorial ” A Cup of Creativi-tea”
Want ideas for creating unique gel prints? And ideas for how to use them. Check out my Gel Printing Playlist- Gel Prints- Create Them AND Use Them
Need a way to store your gel prints and colored papers. Here’s my tried and true system. It’s perfect for keeping even the smallest pieces all organized.
If you create anything inspired by something you saw here, please come share it in my Facebook Group – Mixed Media Creations. I’d love for you to come join the “creationships”
Almost 2 years ago, I retired after 30 years teaching and moved to Vancouver Island. I have always loved the ocean and now I get to live right next to it. I wake up in the morning and can smell the salt air. I am living the dream and still can’t quite believe that I live in this beautiful place.
Maybe that’s why I find myself so inspired by all things sea lately. Sea shells, starfish, mermaids have found their way into my art, not to mention those gorgeous teal, turquoise, blues of the ocean.
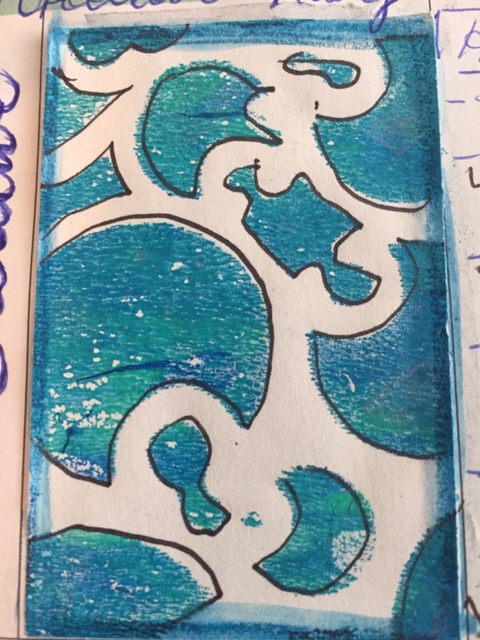
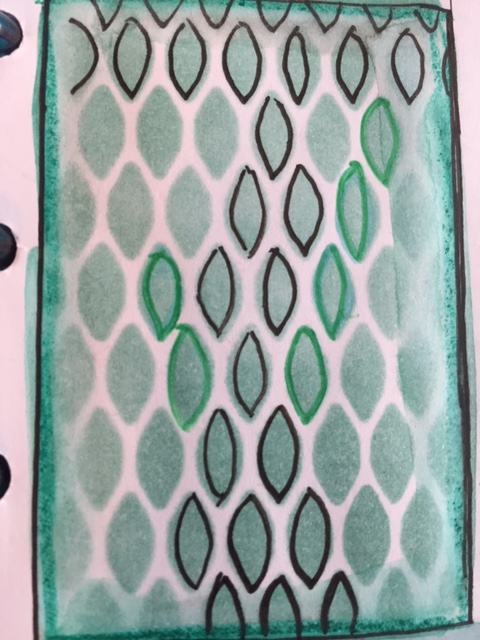
Using a TCW stencil entitled ” Snakeskin” and another one called “Crazy Waves ” I created a gorgeous sea toned background . I used the technique that I have heard called “addition through subtraction” where you remove the color medium through the stencil with a baby wipe. After that dried I then applied several more layers by stenciling in a more traditional way. I absolutely love the effect I got.
Watch this video and learn how I created these adorable sand dollars inspired by the sand dollars I saw at Rathtrevor Beach up island in Parksville, BC.
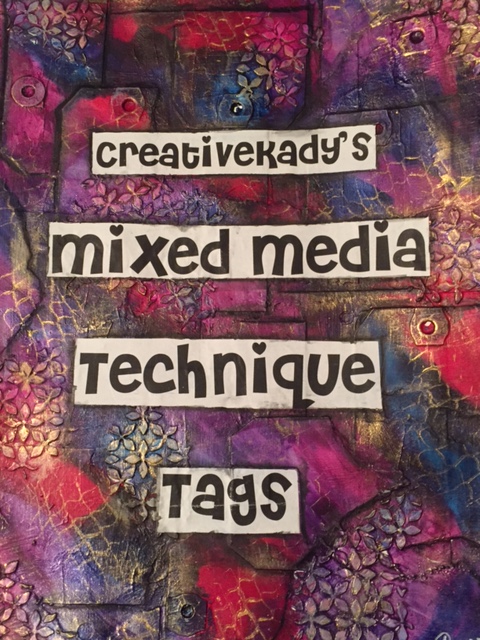
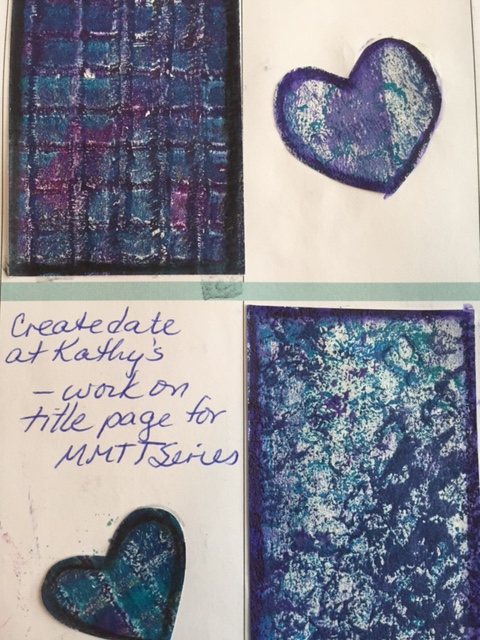
Hello everyone. What have you created today. Here are the next 3 videos in my Mixed Media Technique Tag video series.
Don’t forget to show me your tags or the pages you create using one of the MMTT techniques but posting in my facebook group or in instagram #mixedmediatechniquetag2017
I just love the look of black with bright colors. When you work on a black background it can be difficult to get the brightness of the colors. Use this technique with various color mediums to preserve those bright colors and
–
MMTT#5 Removing Color Through a Stencil
This technique is similar to the “ghosting” technique used by Dyan Reaveley with her Dylusions sprays. But don’t think for one minute that the effect can only be achieved using her products. See how you can get a similar effect using a wide range of color mediums.
MMTT#6 Analogous Color Schemes=Great Backgrounds
Don’t be scared by the term analogous…all it means is colors that play together nicely and when combined do not make mud. If you know this tidbit of color theory you will be able to more easily put together background that are amazing.
Come back and check out more Mixed Media Technique Tag Tutorials.
In December of 2016 I launched the “Mixed Media Technique Tag” series on YouTube. In June I posted the 16th video in the series before taking a “break” to participate in the Index Card a Day Challenge 2017 that is created by Daisy Yellow. ( Yes, there are videos to accompany that journey)
In the MMTT series I demonstrate mixed media/art journaling techniques, tips, or tidbits. I provide YouTube tutorial showing you the technique with several variations. Not only will you learn mixed media techniques, but you will get inspired to try new things and to do your own experimentation. If you choose to make the tags, you will also have a complete Mixed Media Technique reference tool.
As I prepare to start up the Mixed Media Technique Tag series again I will link up the past Mixed Media Technique Tag videos so you can start , catch up or just refresh. Enjoy
Mixed Media Technique Tags ” Let’s Get Started”
I organized the tags into 6 categories- Pattern, Texture, Color, Collage, Finishing and Other. Please go to this link to get more information about this series and get instructions on how to “get ready” for series.
MMTT#1 Designer Tissue Paper
Use your homemade or purchased stamps to create your own one of a kind tissue paper that you can use to add to any of your mixed media projects.
MMTT#2 Tags for Texture
Tags, tags, and more tags….clothing tags, shipping tags, punched tags, business cards. These little gems can be used to create amazing texture on your mixed media projects.
MMTT # 3 Paper Towel to Create Texture
Many of us use paper towel to mop up left over paint, but did you know it can be used to add amazing texture to your mixed media projects?
Come share your mixed media journey and join the “creationships”
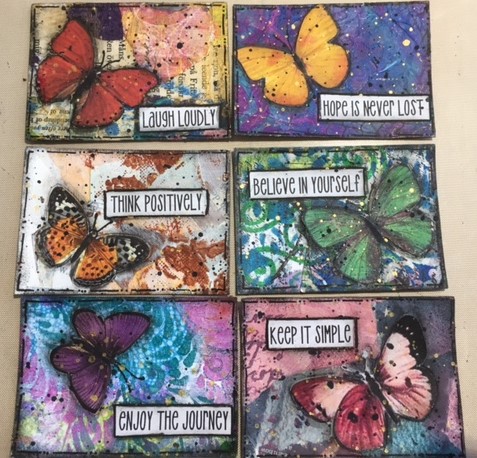
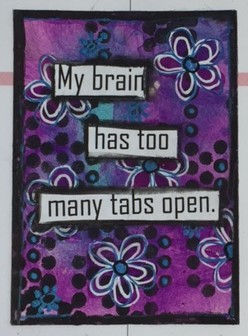
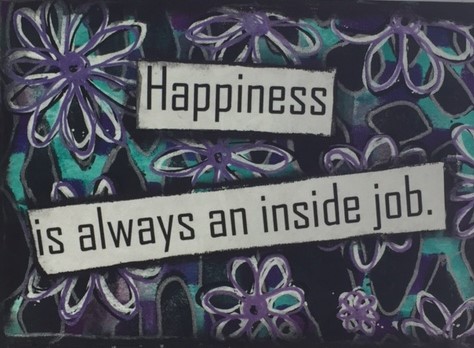
I used my custom DIY phrase stickers ” Just Sayings” on these ATCs.
You may ask ” Why make your own phrase stickers when you could just go out and buy the ones by Tim Holtz or 7 Dots Studio? ”
Well for one, my “art dollars” are precious to me and I want to get lots of bang for my buck. There are way more fun art supplies out there that I would rather have. Secondly, I want to personalize my stickers, select my font, size and words/phrases. Third, it is so easy to do.
First, collect words, phrases, quotes that appeal to you and your style ( sentimental, inspirational, sarcastic or funny. Pinterest is a great place to not only source but store these. Create a board for quotes or phrases and then simply do theme specific searches and pin the ones you like to the board. You can also pin pages your like that have phrases you like. It could not be any easier. Don’t do Pinterest, do it old school and write them down in a notebook.
Second step, type the words, phrases quotes using your word processor. Don’t worry about the font at this time, just get all of them down.
Thirdly, choose the font you want to use. Your Word program comes with many fonts but you can easily download free fonts. I get mine at dafont.com. You can go to the website wordmark.it which allows you to see what all the fonts look like so you can more easily choose.
Check out this Mixed Media Technique Tag video which shows both how to download and install new fonts and how to use wordmark.it .
So once you have selected the font or fonts you wish to use. ( You are not limited to one type of font) play in your Word program and adjust sizes until you get what you like. I aim to get a full page. Print off a trial sheet just to be sure you got the sizes and look you want.
Now you need to buy full sheet white labels. Avery makes them, but I bought dollar store version and they work well. Also, check out the Amazon links below. Watch the prices as some times you can get a real great deal ( Box of 100 for $25) . Get together with your creative friends and buy a big box together to get the great price. Check out my Happy Planner Meets Mixed Media series to see many other uses for these sticker sheets.
Simply put your label sheet in your printer and press print. Now all you have to do is cut out the phrase you want , peel off the backing and stick it down.
As a special treat for my subscribers I am going to provide you with my latest DIY phrase stickers . I call them ” Just Sayings”.
Download and save on your computer. Open in your Word program. Unfortunately , the font I chose was lost when I made it a google doc. ( will have to find a way around this) So,if you want it to look exactly like mine, you will need to get the font LW Simple from Silhouette I used size 30 . Similar free fonts from dafont.com include cookies and milk, fishfingers, and internet friends. If not, you can choose the font and size for your stickers from fonts you have in your word program.
If you want to print it out with black background, go to top of Word program to where is says background color and select black.
Don’t have a printer at home? You can save this to flash drive and take it to office supply store and have them print it out for you. I believe you can also email it to them to print off but you will have to check .
WANT TO BUY THE MATERIALS I USE IN MY VIDEOS?
Check out ” CreativeKady Approved” supplies at my Amazon Store .
I pre-selected and organize art supplies into categories to make it easier for you. http://astore.amazon.com/creativekad05-20
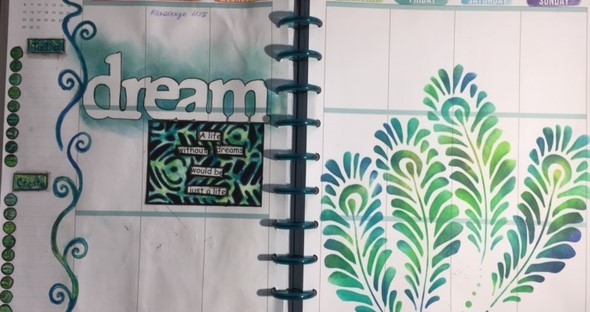
This year I bought myself a Happy Planner. I chose it because I like the disc system that will allow me to add pages. I planned to add brainstorming pages to keep track of my ideas for this blog and my YouTube channel. I also planned on punching some of my art journal pages and putting it into my planner to inspire me and show off my art. Then I was simply going to use the Happy Planner as a functional planner. I loved the stickers you could buy and the notion of decorating/creating a theme. But I was NOT going to spend my art budget on those. I had a whole room full of art supplies. Then over the Christmas holidays in some downtime I watched a couple planner spread videos and it happened. I had the thought. ” I can use this” ” I bet this would work” And I was off.
I decided that I would decorate my planner , but I would challenge myself to use supplies already in my art journaling/mixed media stash . I would also try to use art journaling/mixed media techniques.
Well its been almost 2 months now and I am loving designing my weekly spreads and then using my planner. I’ve made videos of each weekly spread where I promise to include at least one new mixed media supply use or technique.
In this blog I will list 5 of these techniques/ use of materials and link you to the weekly spread video. I’ve put the link to the supplies I used in these 5 Planner Hack ideas .
1.Gelli prints or papers with left over paint cut into sizes of box or strips.
Select your color scheme and either use double sided tape or glue stick to adhere to page. I edged the boxes with my Stabilo All Pencil, but you can use Neo Color II or any watercolor pencil. Rub with finger to smudge or activate with a bit of water on a round paint brush. You can leave these blank or you can print motivational quotes on them with Micron pen, White Uniball Signo or Posca Pens. If the color on the gelli print is light enough you can plan on it, but if the color is dark or extremely busy it may just be used to add color to your spread.
2.Distress Ink applied with Ranger Blending tool through a stencil .
I created a template of the different size squares that I wanted to use by using exacto knife and a sheet of mylar. I punched the template with my Arc Paper Punch ( similar to Happy Planner punch) and keep it in the front of the planner for easy access. I place a stencil under the template and apply the ink. You can use one color or blend multiple colors. You can easily write over the Distress Ink and if you want you can add doodles on the stencil during the week.
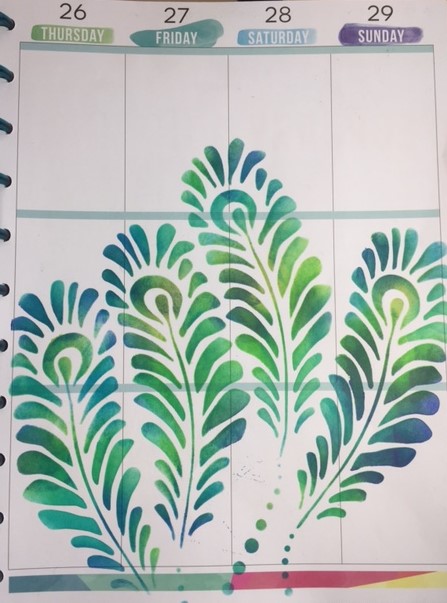
3. Use large stencils .
I used a large stencil to fill a corner of my planner spread. I used my Dylusions Paints and applied them with the Ranger Blending Tools. I used multiple colors and blended them on the page. The paint does not effect the planner pages and when dry is easy to write on during the planning stage.
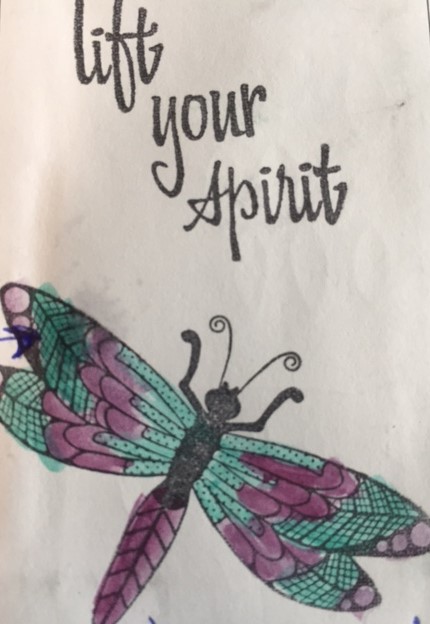
4. Stamp sentiment or picture stamps directly onto the spaces.
I used black StazOn. Now you can either color them while designing your page or color during the week. I colored mine using my Inktense Pencils. I activated the ink with a bit of water on a small round brush. A water brush would work well for this. The paper of the Happy Planner seems to handle a little bit of water well without buckling or warping. Be sure to test out your planner page with whatever marker or water brush you choose to ensure it doesn’t bleed through or warp.
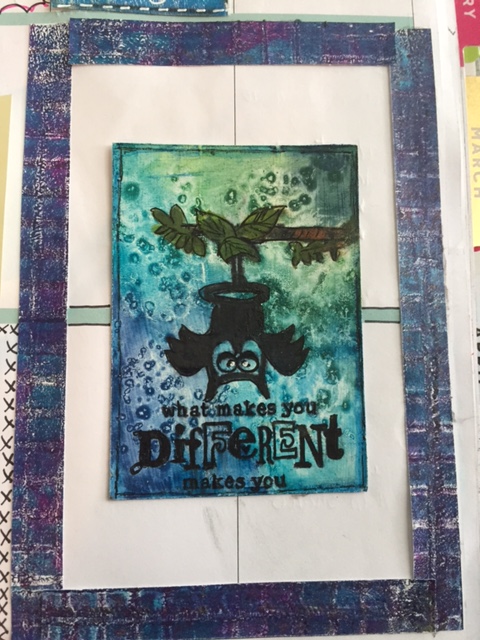
5.Attach an ATC ( Artist Trading Card) onto each weekly spread.
Alternatively I am using some pre-done backgrounds that were on ATCs and adding quotes. I have a binder full of inspirational quotes that I found on Pinterest. I typed them up and printed them in various sizes and fonts.
I hope you try some of these on your planner. Subscribe to my blog and you won’t miss upcoming Planner Hacks. 5 more coming next month.
CreativeKady
VISIT MY AMAZON STORE- I’ve done the work for you and organized my store by categories.Everything I chose is CreativeKady approved- I either own it OR want to own it. http://astore.amazon.com/creativekad05-20
I belong to several Facebook Groups that focus on mixed media and /or art journaling. Predictably every so often someone poses the question about whether they should gesso every page. Answers invariably differ and quite honestly the answer depends completely on what you are creating, what techniques you are using and what effect you want to achieve. So, in a way everyone is right and each person must experiment and decide for themselves.
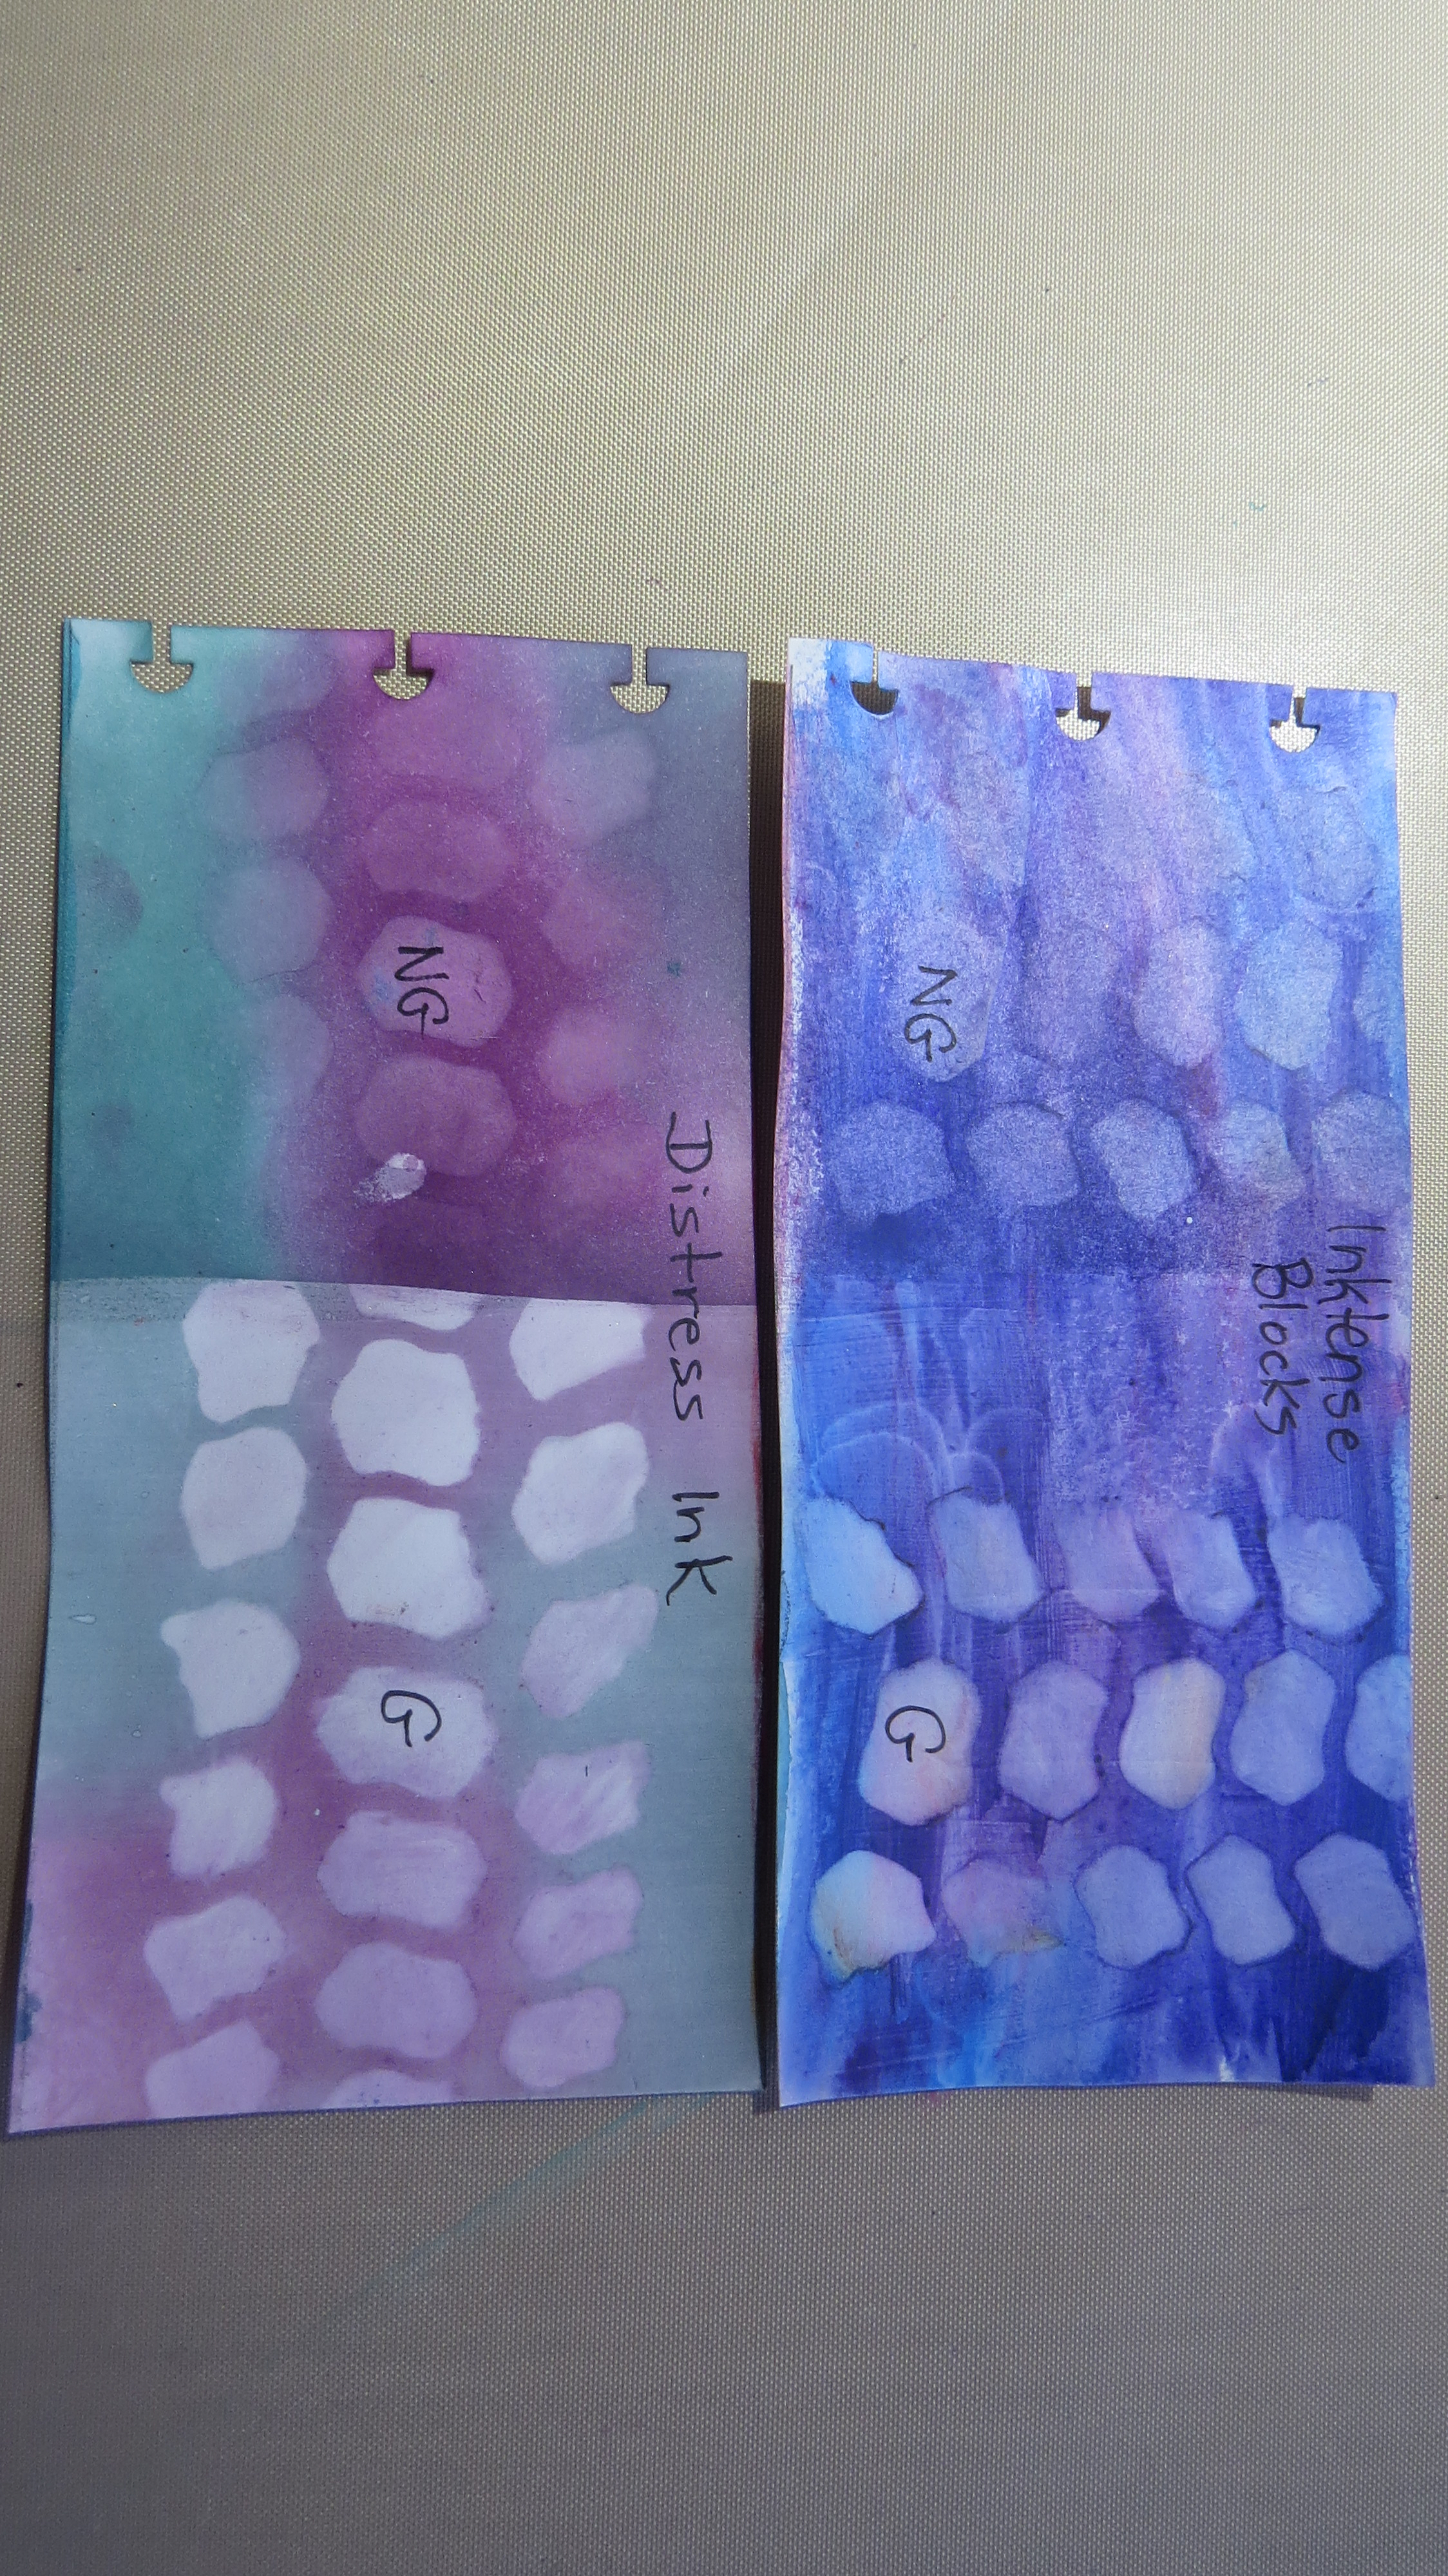
In my YouTube series Mixed Media Technique Tags I recently focused on the technique where you lift or remove paint through a stencil. It may go by a different name. I believe it originated with Dyan Reaveley and her Dylusions Sprays, but I’d seen it done with Distress Inks as well.The question I wanted to explore was if this technique worked with other color mediums; those that were water soluble and those that are not.
Normally I gesso every page I do. I like how it works. But to be honest I wasn’t always gessoing the tags for the MMTT videos. Since I wanted to ensure the actual technique worked with the various color mediums I did a little experimenting first. I painted half a tag with gesso and then applied each color medium on both the gessoed and non-gessoed sides and proceeded with the technique.
You can check out this Mixed Media Technique Video by clicking on this link
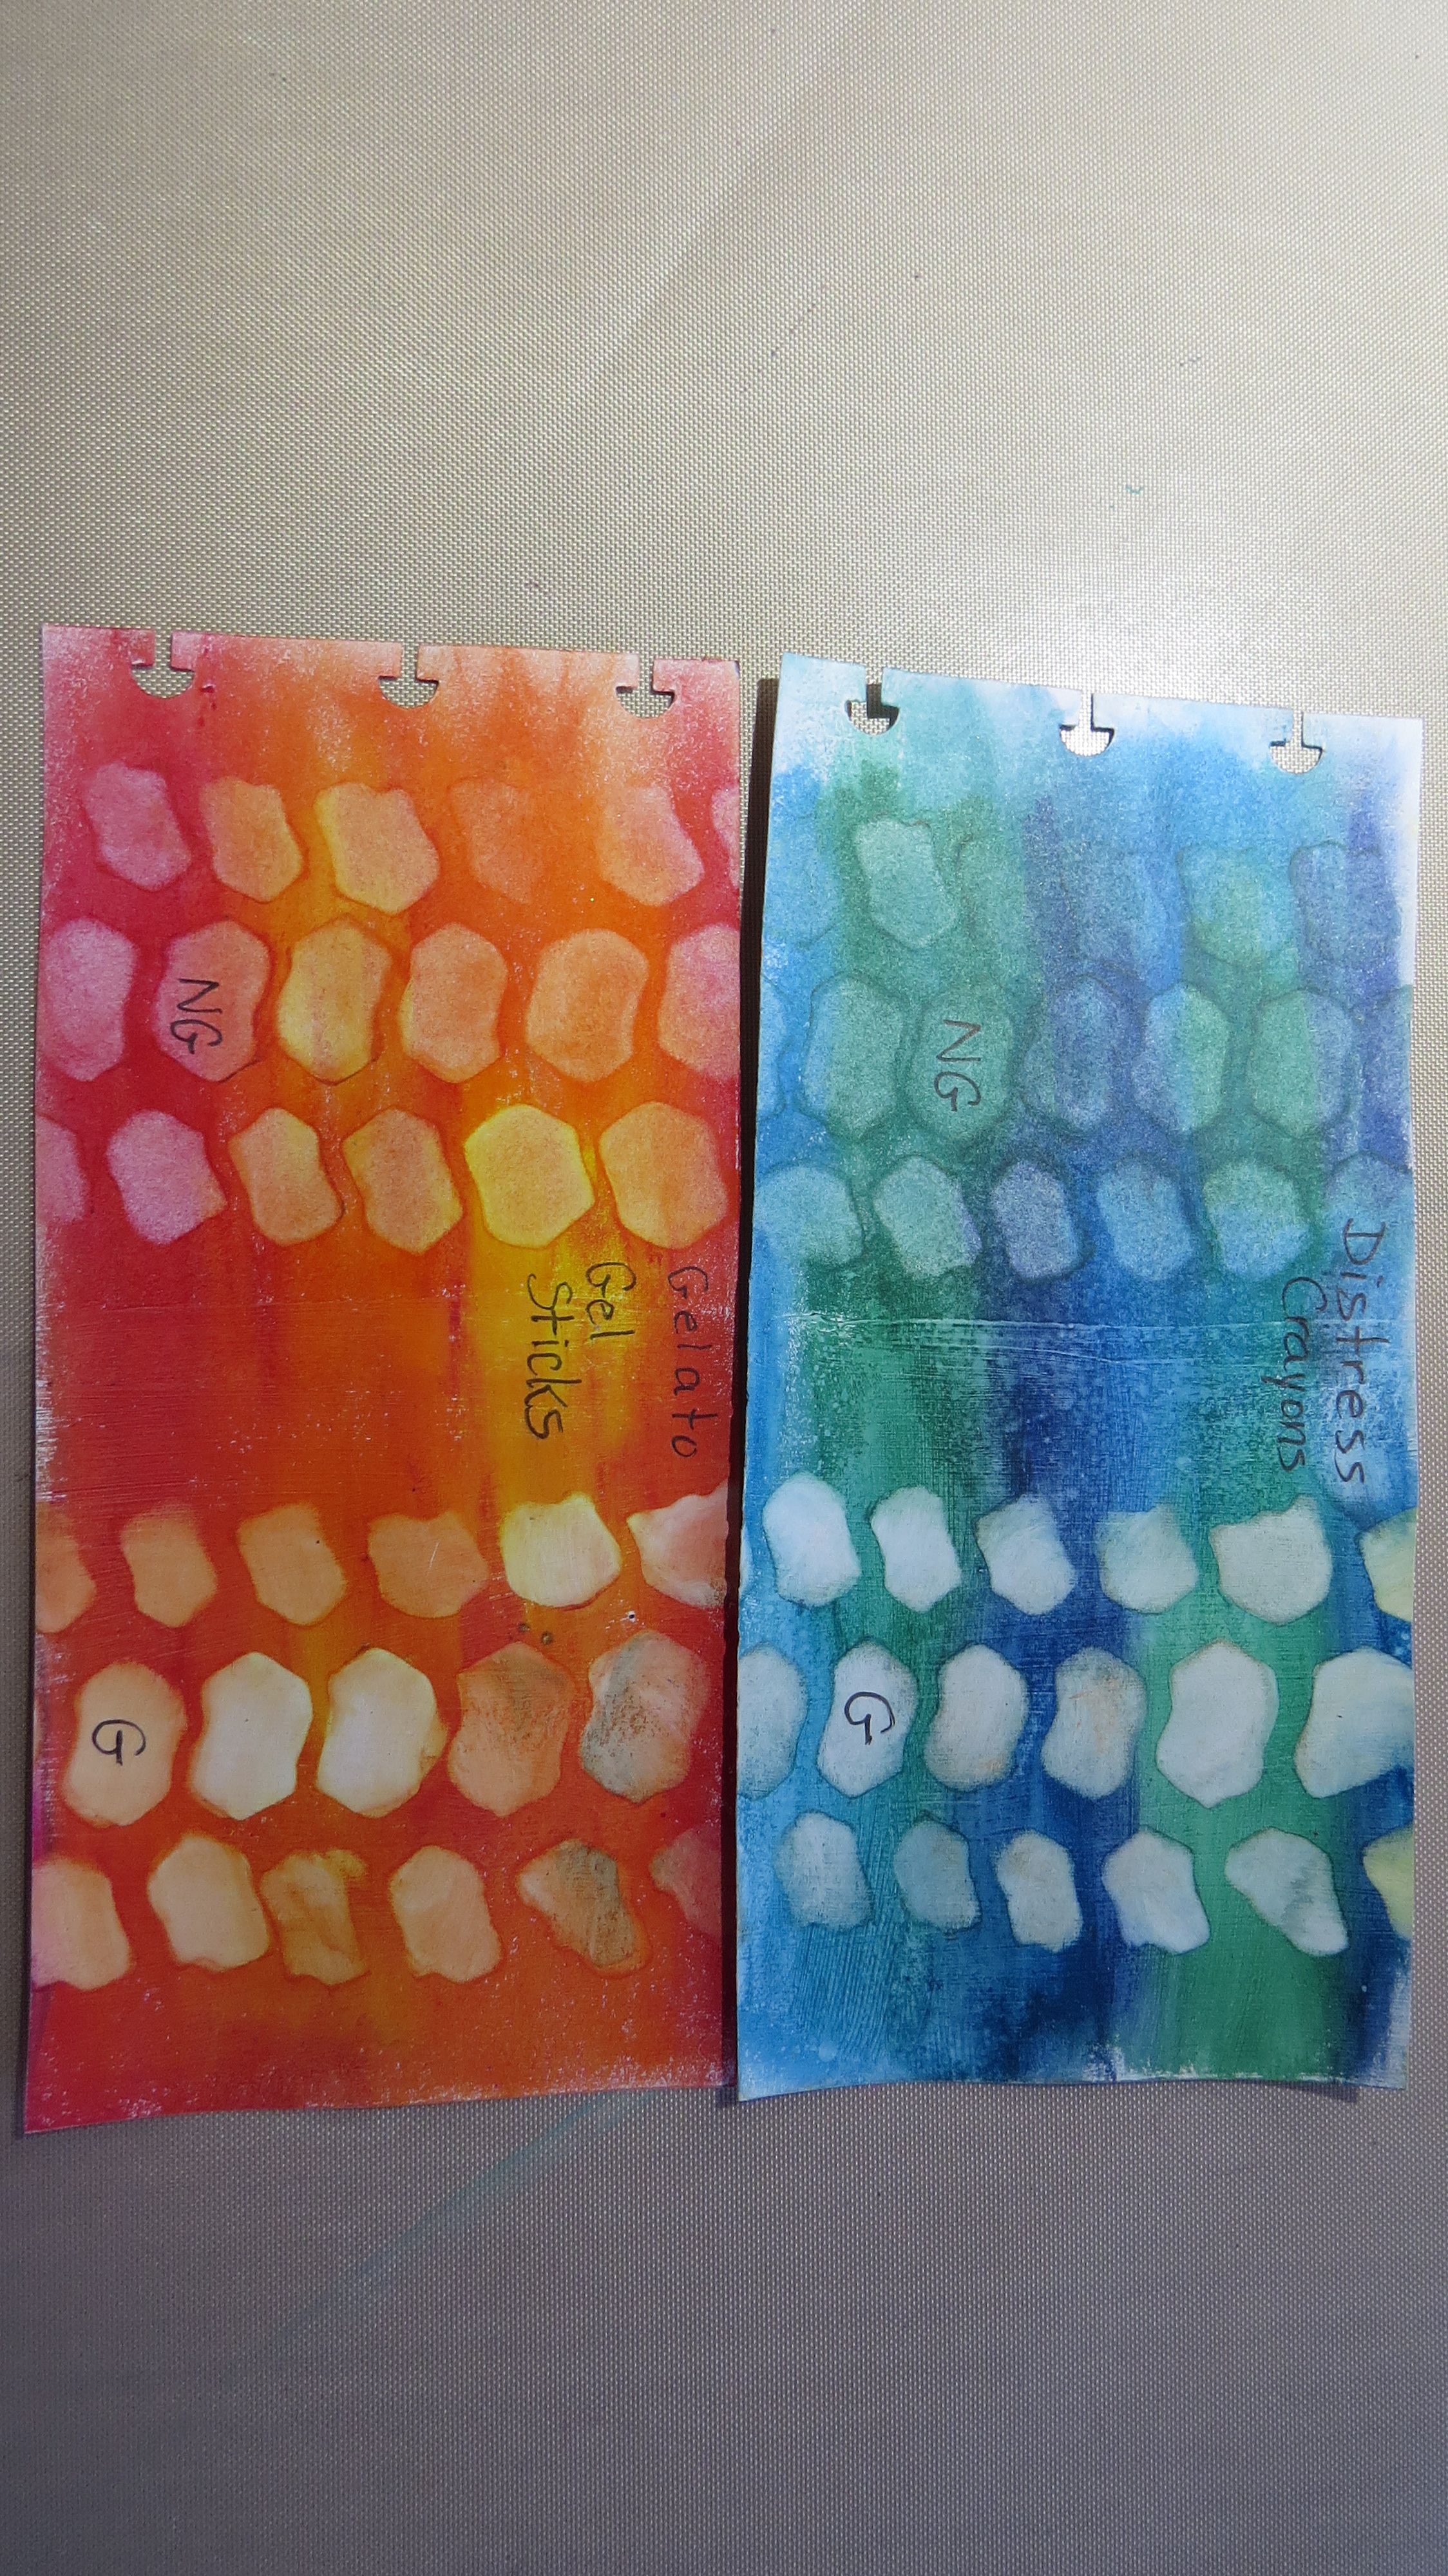
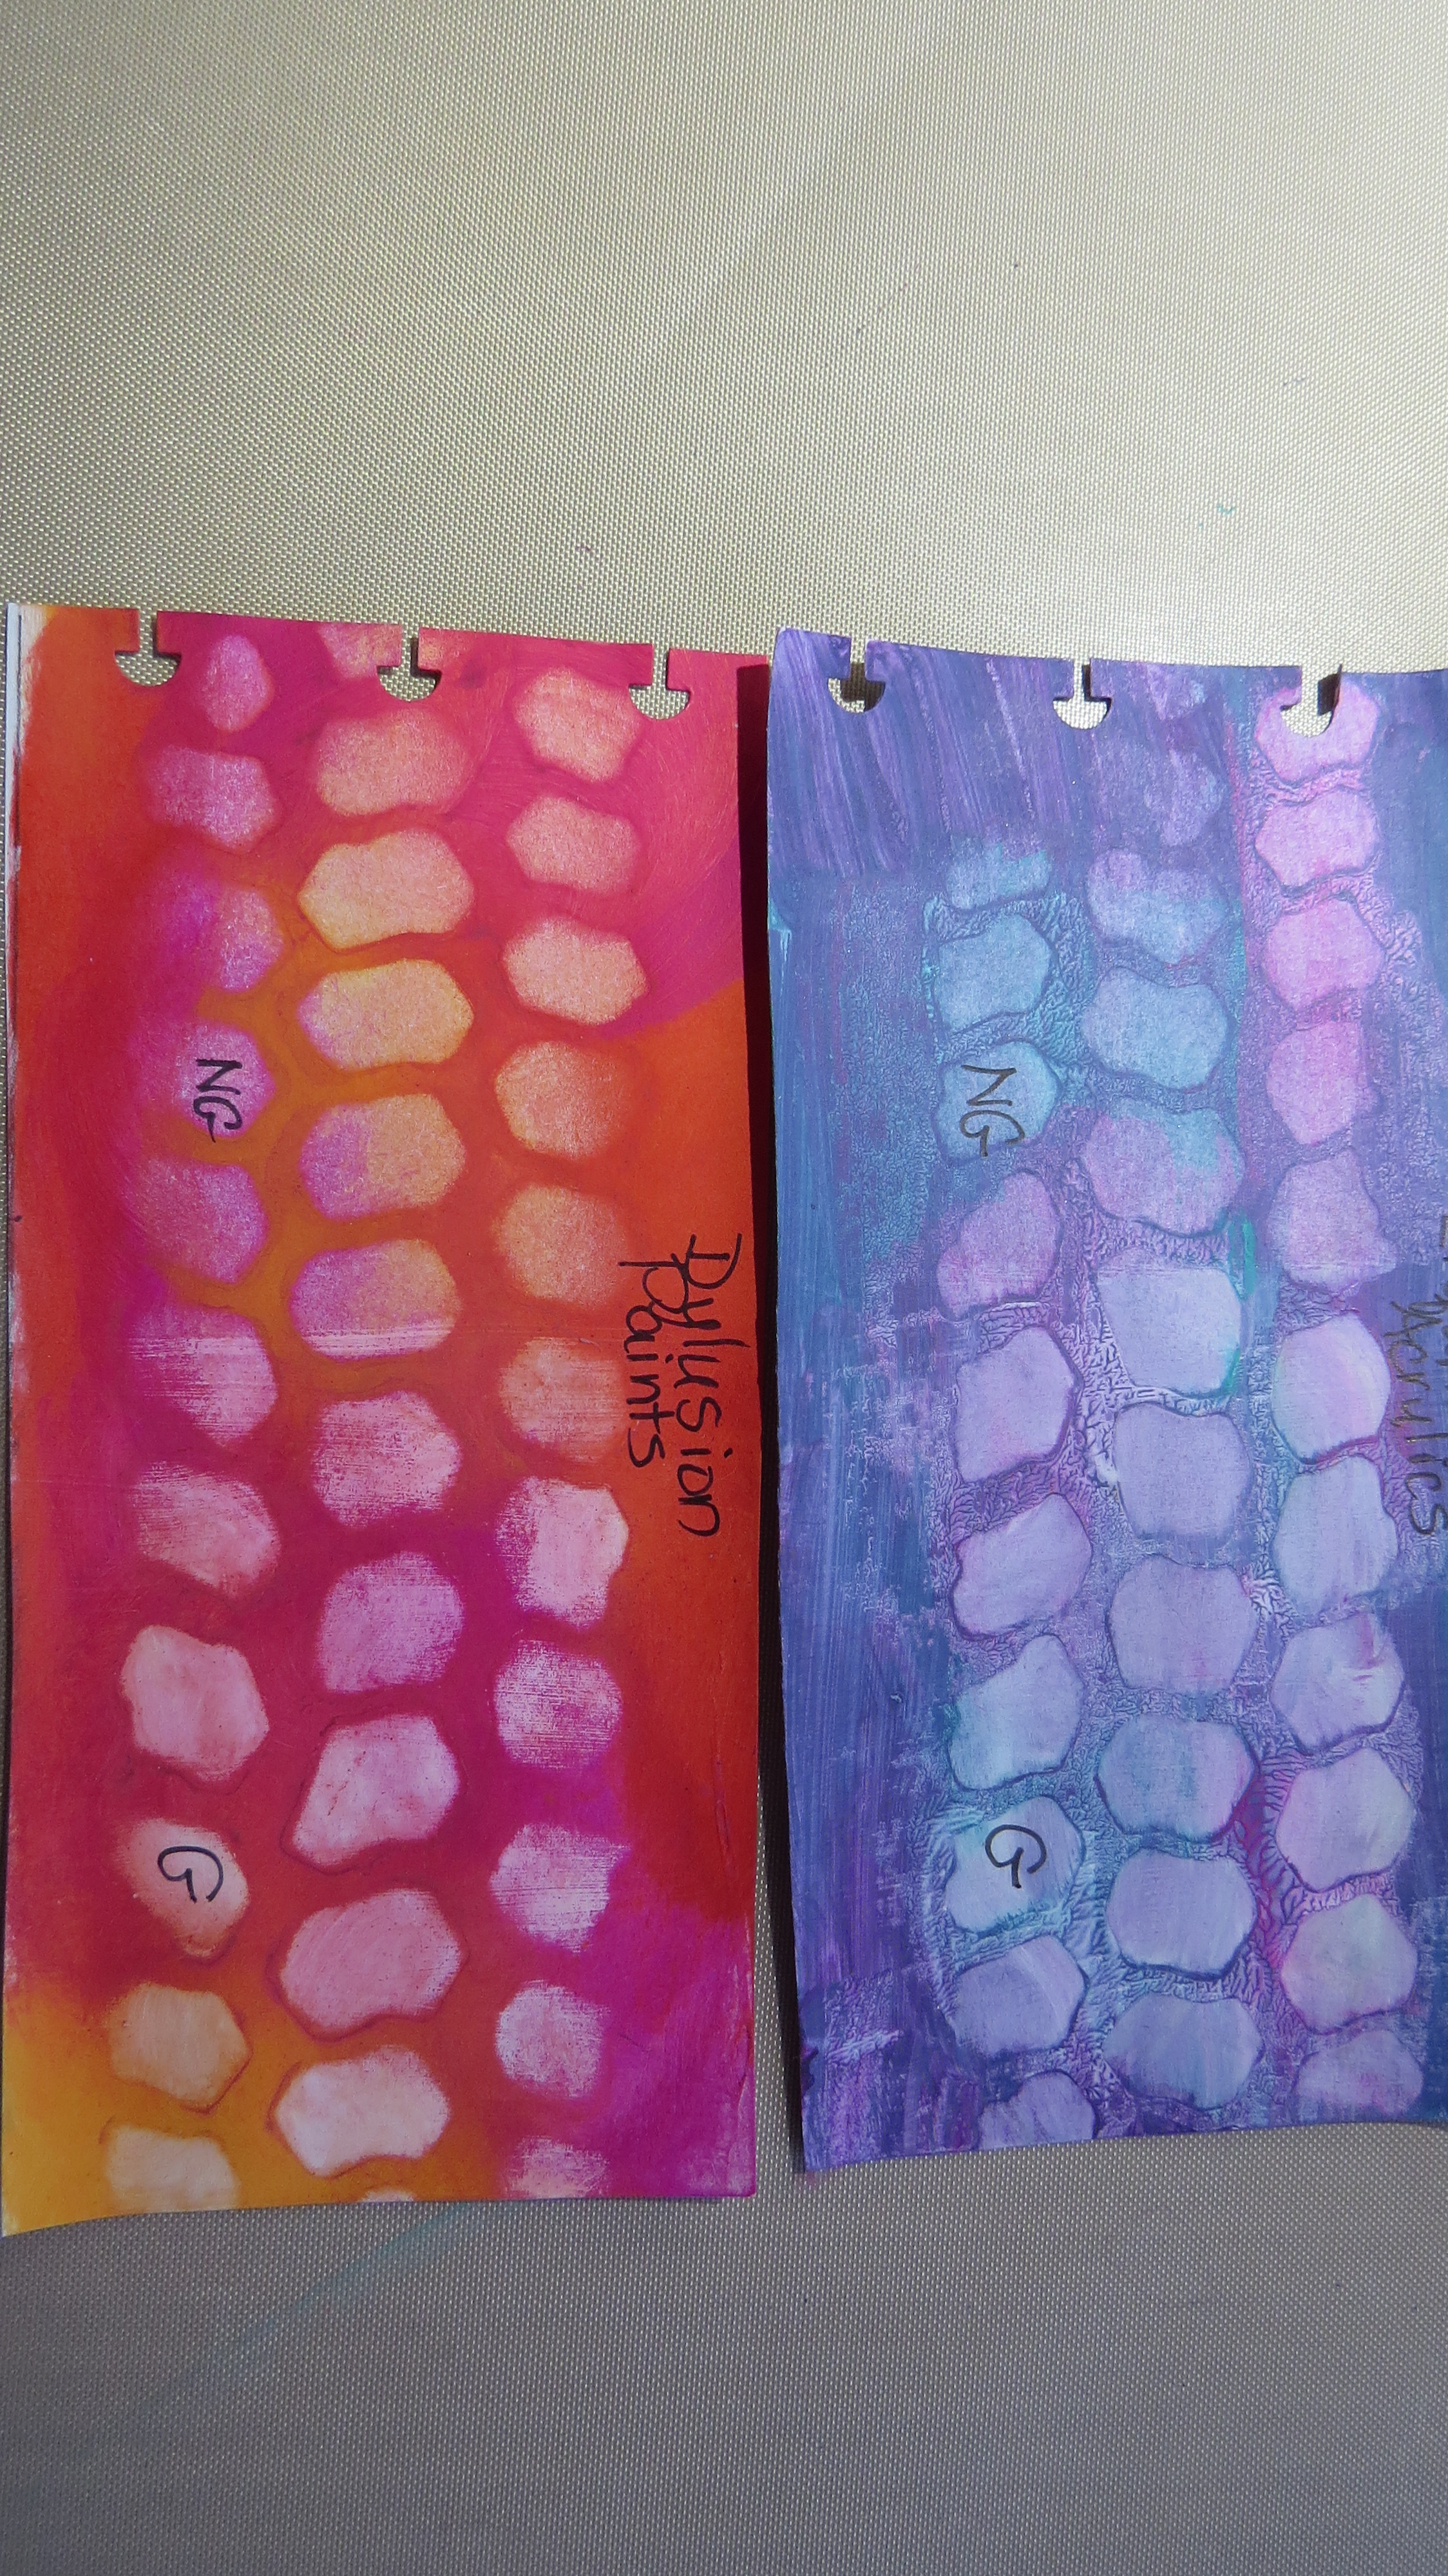
Now for the results. For each product the left side is ungessoed and the right has a coat of gesso. Each product went on way easier and smoother on the gessoed side. The technique definitely worked better on the gessoed side for all mediums as well. Whether you chose to gesso or not as a rule is up to you, but if you want to do this technique I would highly recommend using gesso. The results will be worth it.
Here are the pictorial results.
Inktense Blocks and Distress Ink
Distress Crayons and Gelatos/Gel Sticks
Liquitex Basics and Dylusions Paints
There is not much difference here, but with the gesso you did have more working time.
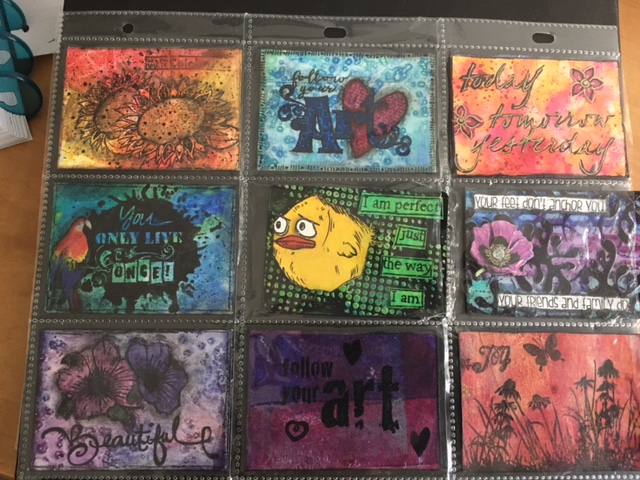
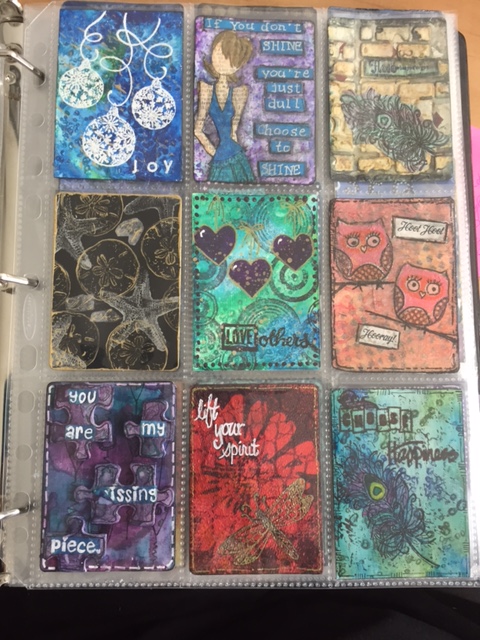
I love creating ATCs ( Artist Trading Cards) and ICADs ( Index Card a Day) and over the period of 2 years that I have been doing mixed media I have quite the collection. I admit it I have a hard time giving away or even trading my little pieces of art. I imagine many of you are just like me , with a growing pile of ATCs , ICADs etc. So what do you do with them?
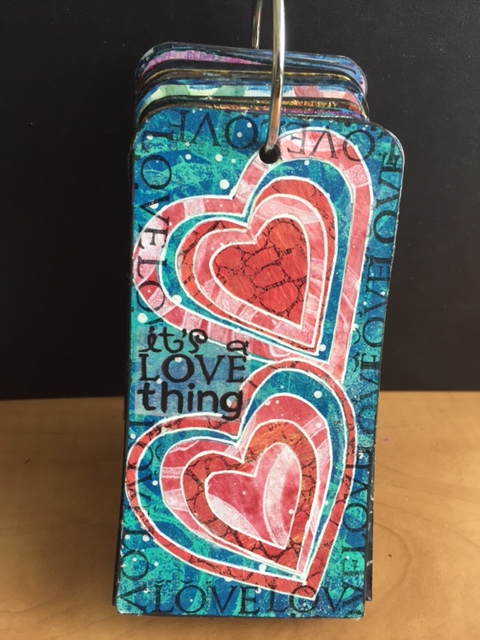
Initially I bought baseball card plastic sheets and stored my ATCs in them in a binder. This works well but I found that I didn’t look through it often. And I wanted to see my art,and be inspired by it. My ICADS I hole punched and put on a ring. This kept them together, but was hard to display and I feel like I damaged my art by punching a hole in it.
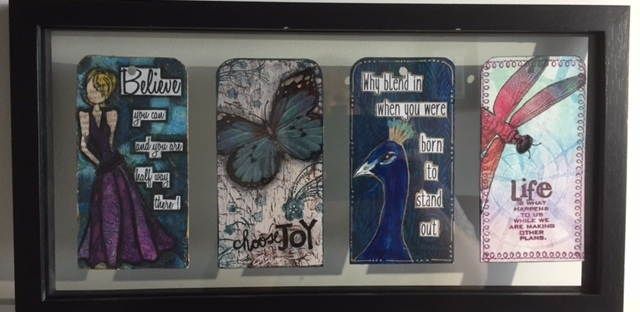
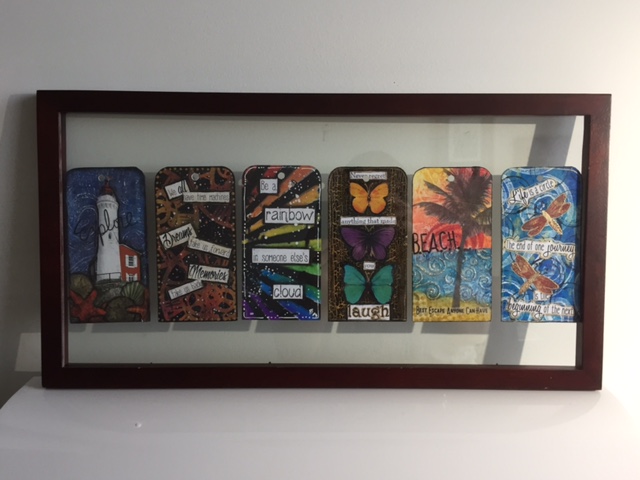
One day shortly after we had moved my husband and I got onto the task of hanging pictures. Some of the things we had previously hung no longer appealed or ” fit” our new home. By the end of it, we had a stack of unused frames of various sizes and shapes. This is when I got my idea. Now that I had an actual art studio dedicated to my creativity I wanted to hang some of my creations. I gathered up all the unused frames onto the dining room table and took out all my creations that were not in a journal. Here’s what I came up with.
Now I didn’t do anything fancy, such as get custom matting for them- but you definitely could do this. Part of my plan was to use what I had without buying anything new. This also meant that I could just get this done and hang the frames without delay or procrastination.
These two frames that are basically two panes of glass surrounded by wood . I believe they are called “float” picture frames. These work particularily well since they will fit a variety of sizes of my art. If I wanted I could paint a background that would go with the selected ICADS/ATCs and mount the ATCs/ICADs on it. For now I like the look of the wall showing through. Gives it a sort of 3 D effect.
Here are a couple links to similar frames
Wood Float Frame 10X20 – http://amzn.to/2kkBXxV
Wood Float Frame 51/2 X 13 – http://amzn.to/2jnJ6xZ
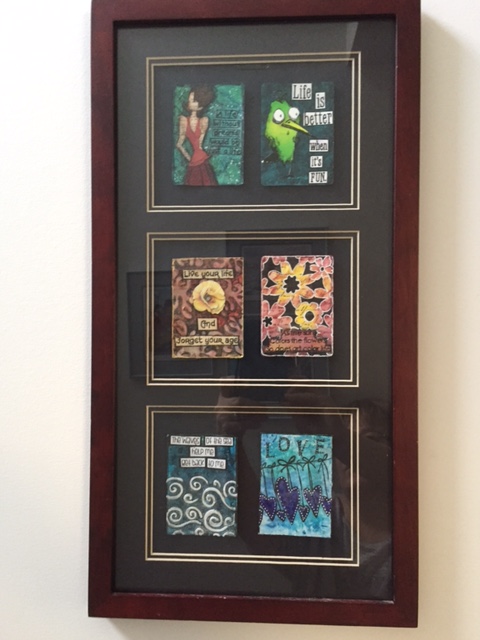
This frame had a pre cut mat that was intended to use with 3 5 by 7 photos. The size of the opening was too big for just one ATC so I paired them up and mounted them on the backing. The matting really makes these ATCs pop. Afterwards, I realized that I could have used foam tape or dots to adhere the ATCs. This little change would set them off even more.
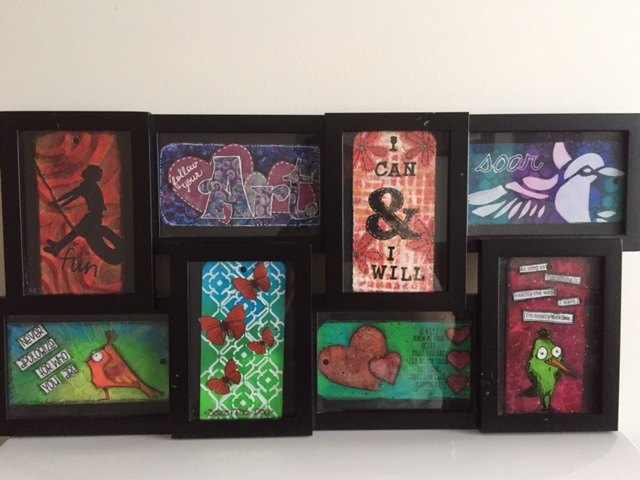
These multi-picture frames come in a variety of orientations, but are the perfect size for either ATCs or ICADs. I loved that I could use my ICADs that went horizontally as well as vertically in this frame. I simply mounted them on the black background without adding any backing paper. At a later time I could mount them on matt board or get a matt cut. ( My husband purchased a matt cutter when I first got into art. I may have to nudge him to get it out and start using it).
Here are some links to similar frames if interested
The best part of having my art in frames is I get to enjoy them in a way I couldn’t before. It inspires me to have my art hanging in my work space. Plus, whenever it strikes my fancy I can change the arrangements putting in other favorites or newer creations.